Since the dawn of time, there has been that golden battle between proponents of both RAW and JPEG shooting for any digital camera that supports it. The truth is that both have an application and there are instances I will use either over the other. In a primer to jumping into the world of shooting RAW on your DSLR or mirrorless camera which supports RAW, I will be covering what RAW is, why and when you should shoot RAW and how you can get started processing RAW files on your computer with an ideal workflow for your pictures.
In the first part of the series, we cover what EXACTLY is RAW and when and why you should shoot RAW over the default JPEG.
What exactly is the RAW file format?

The RAW file format in the simplest of ways is an unprocessed image file that contains “raw” data from the camera sensor. Unlike a JPEG file that already has a default amount of adjustments applied to it like contrast, sharpness and compression, the RAW file is completely free of that and is just how the camera “sees” your scene.
A RAW file in essence is a “Digital Negative” of sorts because its not an image per se and requires processing to a “Positive” JPEG or TIFF file. RAW files are often proprietary with Nikon cameras shooting .NEF, Canon shooting .CR2 and Sony with .ARW with the exception of Adobe’s .DNG files hoping to be the standardised format for photo RAW.
RAW vs JPEG
For this question, there is no clear answer other than “Depends what you are shooting”. If I’m shooting a landscape for print, most likely I’ll opt to shoot RAW. If I’m shooting a football game or Red Bull Air Race for a wire or speed, I’ll be shooting in JPEG. If that doesn’t give an indication of why to shoot RAW/JPEG, here’s a Pros and Cons for shooting RAW.
PROS
- Higher Dynamic Range
- Easily correct exposure and white balance
- Non destructive editing (Every change is set in an XML Sidecar)
- Able to edit look to exactly how you want it to be
- Easily de-noise and sharpen
CONS
- Much larger filesize
- Not good to go straight out of camera (Looks horrible without processing too)
- Takes up way more buffer space when bursting on a camera
- Need particular software to process
Examples

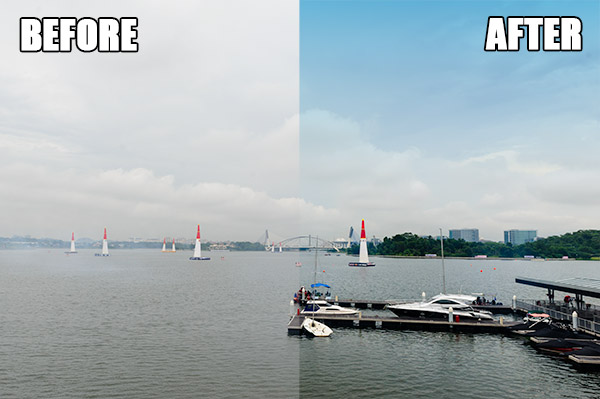
RAW File No Adjustment
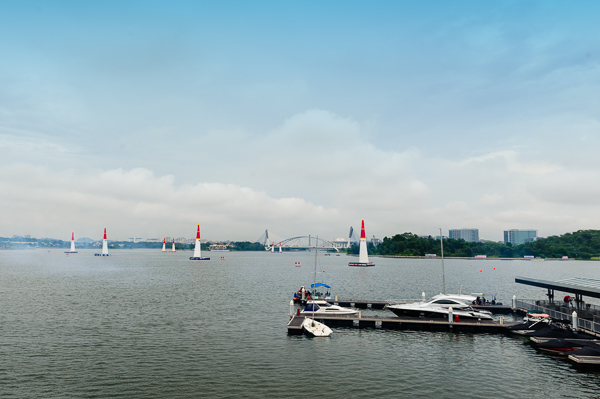
RAW File After Adjustment
Rescuing underexposed images
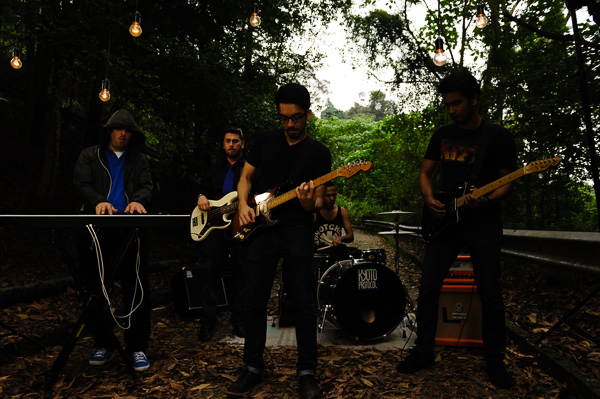
Underexposed, Straight Out Of Camera
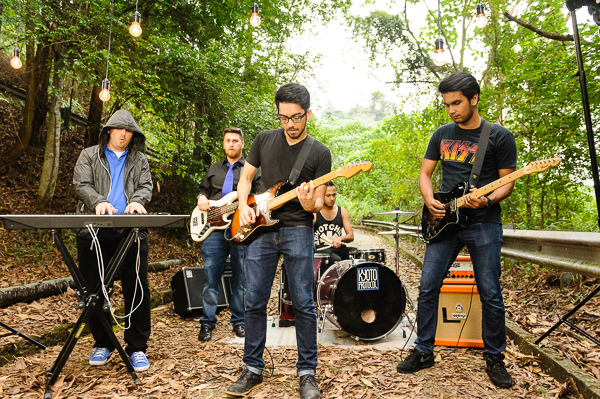
+2.0EV
White Balance And Exposure Rescue From Underexposed
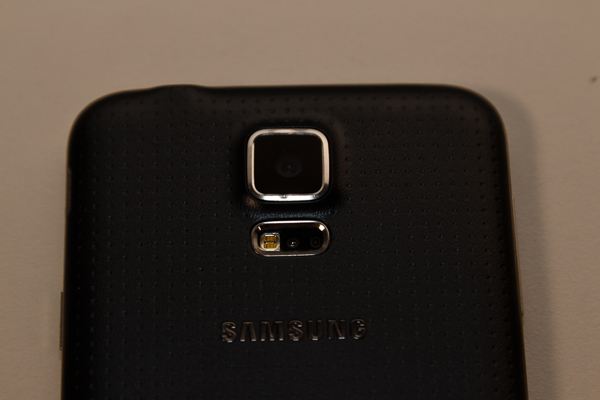
Original Underexposed And Wrong Colour Temp
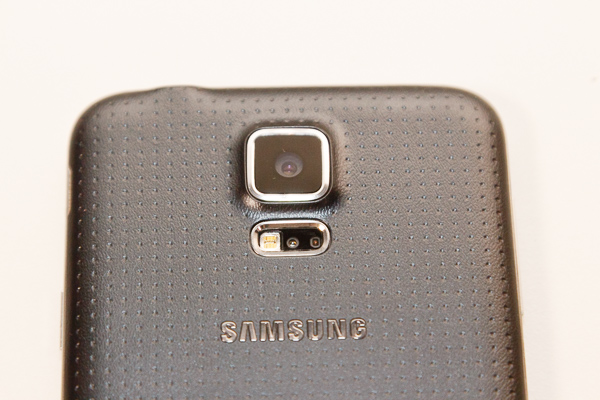
Exposure Corrected
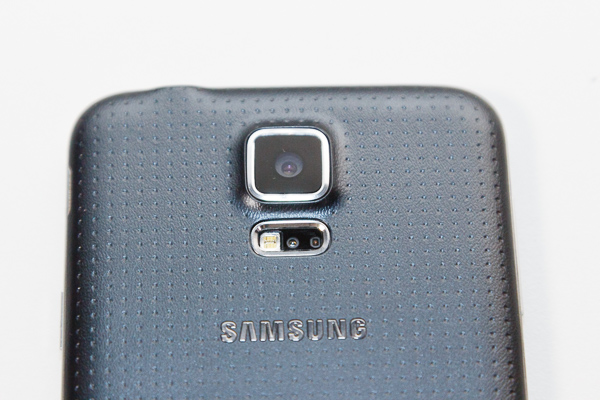
Colour Corrected
Source: lowyat
No comments:
Post a Comment